 |
| Set up from the French side |
 |
| Set up from Davout's entry point (lower left) |
 |
| Set up from the Bagration (lower left) vs Lannes (lower right) side |
The game started in an historical fashion, with Buxhowden's wing racing to the Goldbach while the French main force (with Bernadotte's I Corps and Soult's IV Corps at the front) attacked the enemy center. However, an unique string of die rolls actually allowed the Allied army to coordinate better: I rolled "1" three times in a row for pulse determination, which meant that turns 1-3 only had 1 pulse each! Thanks to this, the French command superiority faced a decent Allied army command, with Buxhowden even activating by initiative once!
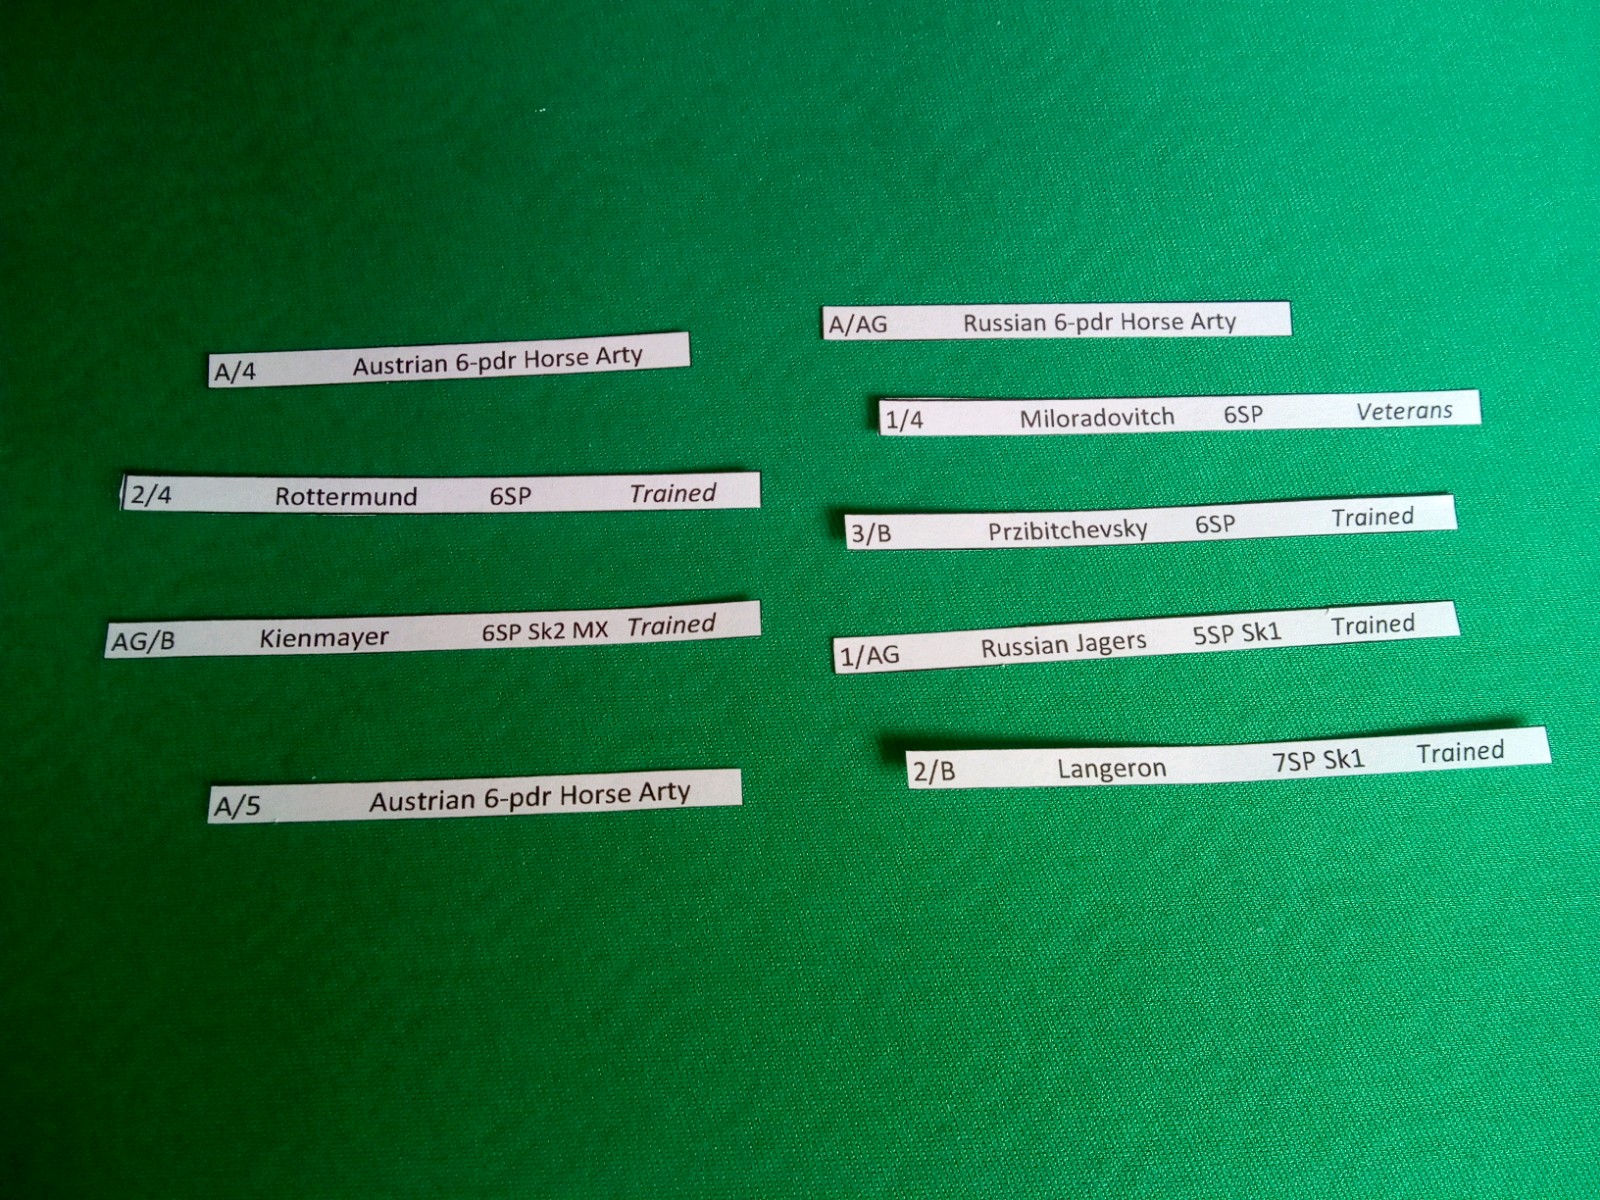
In short, Kollowrath and Lichtenstein managed to build a solid defensive line at the top of the Pratzen and check Bernadotte's advance, while Buxhowden pressed its attack. On the Allied right, Bagration actually managed to stop Lannes' advance and even push him back a little.
 |
| Kollowrath and Liechtenstein manage to (briefly) check the French advance |
However, disaster struck on turn 4, which followed a more traditional pattern (3 impulses played). Bernadotte was able to resist the Austrian Kuirassiers charge, while Soult's IV Corps stormed the top of the Pratzen pushing back Kollowrath's recruits.
 |
| Soult gets to the top of the Pratzen, while Kollowrath's wekeaned recruits try to establish a new line. |
Kollowrath tried to re-establish a new defensive line but was wounded. He returned shortly after, but was killed by another bullet, and his replacement decided to launch an ill-fated counterattack, which was easily defeated by the French. Murat's Cuirassiers then charged the weakened Austrian center to seal the victory, while Soult's troops, with the help of Devout, rolled Buxhowden's troops that failed to take Sokolnitz despite repeated attacks. On the Allied left, Bagration was getting the upper hand against Lannes (Walther's cavalry routed and Caffarelli's division was effectively spent), until the French Imperial Guard Cavalry charged the Russian Jagers and routed them in turn, stabilizing the situation.
 |
| Murat's cavalry breaking through the Allied center on the Pratzen, while Kollowrath's command is broken. |
 |
| Vandamme and St.Hilaire (Soult's IV Corps) rolling the Allied left |
When turn 4 ended, Lannes was able to rally Walther's light cavalry, but the Allies were unable to rally any of their routed units due to the French being too close. With 9 units routed, the Allies had to check for Army morale (their Break Point being 5).
 |
| Routed allied troops |
The Army Morale check was failed (roll of 9 + 4 turns + 4 routed units beyond the Allied break point of 5 = 17) and the Allies routed. The Austro-Russians still held a slight advantage in light cavalry, which prevented a French pursuit, but the French victory was undeniable.
Some post-game thoughts:
- Balance: the game favors the French, but is not so skewed as to be pointless for the Allies. Some key combats could have easily gone in a different way, and Bagration showed that a reckless French advance can be met successfully. However, the Allies were favored by the first 3 turns lasting only 1 round each, which mitigated their command issues. Still, the game is fun and not easy to win. If playing with a newbie, let him play the French: he will have fun but still face a challenging, stimulating situation.
- Light Cavalry: the French can dominate but still fail to have enough light cavalry to pursue the fleeing Allies when they break army morale. Therefore the French player has to be careful in when (or if) commit them. The Allies most likely will need to use at least part of their light cavalry, or will be thrashed early. Probably this is part of the scenario balance too.
- Allied command decisions: the Allies have some very interesting command decisions to take. Using CPs to keep Buxhowden under control is useful to be able to keep forces on the Pratzen, but this costs a lot and might be pointless if a turn lasts for more then 2 pulses (you won't have CPs to sustain it). In addition, having his wing take Sokolnitz quickly may be useful to put additional pressure on the French if they are checked on the Pratzen. Kollowrath and Liechtenstein are, instead, probably the keys to the Allied battle plan: Liechtenstein can either go to an historical position to check the French I Corps advance and still have the powerful Russian Guard in reserve, but this will leave Kollowrath's forces with no reserves. This is what happened in my game: ultimately the French broke Kollowrath, splitting the Allied army in two. Or, if the Allied cavalry remains behind Kollowrath, this will create a powerful center, but Bernadotte's I Corps will have an easier time in flanking the Pratzen, and the Russian Guard will have to enter the fight (it may need CPs to keep Constantine active), with no-one else behind it as a last-ditch reserve. Tough choices.
- Lannes vs Bagration: yes, it's almost a side battle. I'm wondering if eliminating them will let me expand the rest of the battlefield a bit and make it less crowded. Somehow I'm hesitant, because they were a part of the battle after all, and if one of them wins quickly, it will create new battle dynamics. But eliminating them can be an option, especially if play space is limited.
- Overall judgement: the game was good and had a great Austerlitz (and Napoleonic) feel! I loved it!
Nessun commento:
Posta un commento